Struts2-UI Tags Example-I
AIM:
To understand how to use some UI tags such as label, textfield, password, form, submit.
Problem:
Create textfield for username and create password for password.
If you give correct username and password , the display.jsp file will display.
Otherwise the failure.jsp will display.
PROCEDURE:
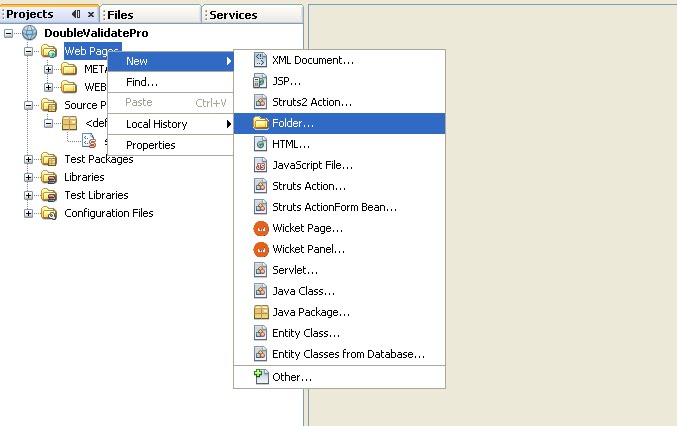
Step 1:
Create project Named UITags-I
Step 2:
Create Action class named UIAction
Include following coding into UIAction
package example;
import com.opensymphony.xwork2.ActionSupport;
public class UIAction extends ActionSupport
{
private String username;
private String password;
public String getPassword()
{
return password;
}
public void setPassword(String password)
{
this.password = password;
}
public String getUsername()
{
return username;
}
public void setUsername(String username)
{
this.username = username;
}
public UIAction()
{
}
public String execute() throws Exception
{
if((getUsername().equals("suresh"))&&(getPassword().equals("kumar")))
{
return "success";
}
else
{
return "failure";
}
}
}
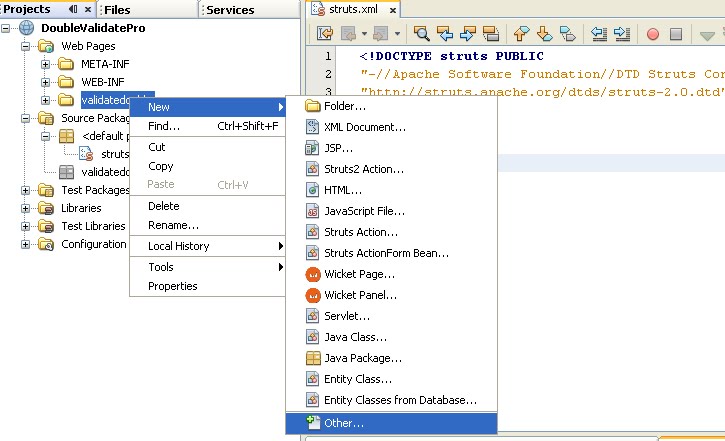
Step 3:
Made some changes in struts.xml
< !DOCTYPE struts PUBLIC
"-//Apache Software Foundation//DTD Struts Configuration 2.0//EN"
http://struts.apache.org/dtds/struts-2.0.dtd >
< struts >
< package name="example" namespace="/example" extends="struts-default" >
< action name="uiaction" class="example.UIAction" >
< result name="input" > /example/register.jsp < /result >
< result name="success" > /example/display.jsp < /result >
< result name="failure" > /example/failure.jsp < /result >
< /action >
< /package >
< /struts >
Step 4:
Create register.jsp
Include following code into register.jsp
< %@taglib uri="/struts-tags" prefix="s" % >
< html >
< head >
< title > Register Page < /title >
< /head >
< body >
< s:form action="uiaction" method="post" >
< s:textfield name="username" label="UserName"/ >
< s:password name="password" label="PassWord"/ >
< s:submit value="OK"/ >
< /s:form >
< /body >
< /html >
Step 5:
Create display.jsp
< %@taglib uri="/struts-tags" prefix="s" % >
< html >
< head >
< title > Register Page < /title >
< /head >
< body >
< h1 > WELCOME < /h1 > < h2 > < s:property value="username" > < /s:property > < /h2 >
< /body >
< /html >
Step 6:
Create failure.jsp
< %@taglib uri="/struts-tags" prefix="s" % >
< html >
< head >
< title > Register Page < /title >
< /head >
< body >
< h1 > Hello ! < s:property value="username"/ > -- Who Are You? < /h1 >
< h2 > Enter Correct Username and password < /h2 >
< /body >
< /html >
Step 7:
Run register.jsp
Conclusion:
Form this , we have understood how to use textfield, password and form and submit tags.
Directory Structure of this project